Salads,
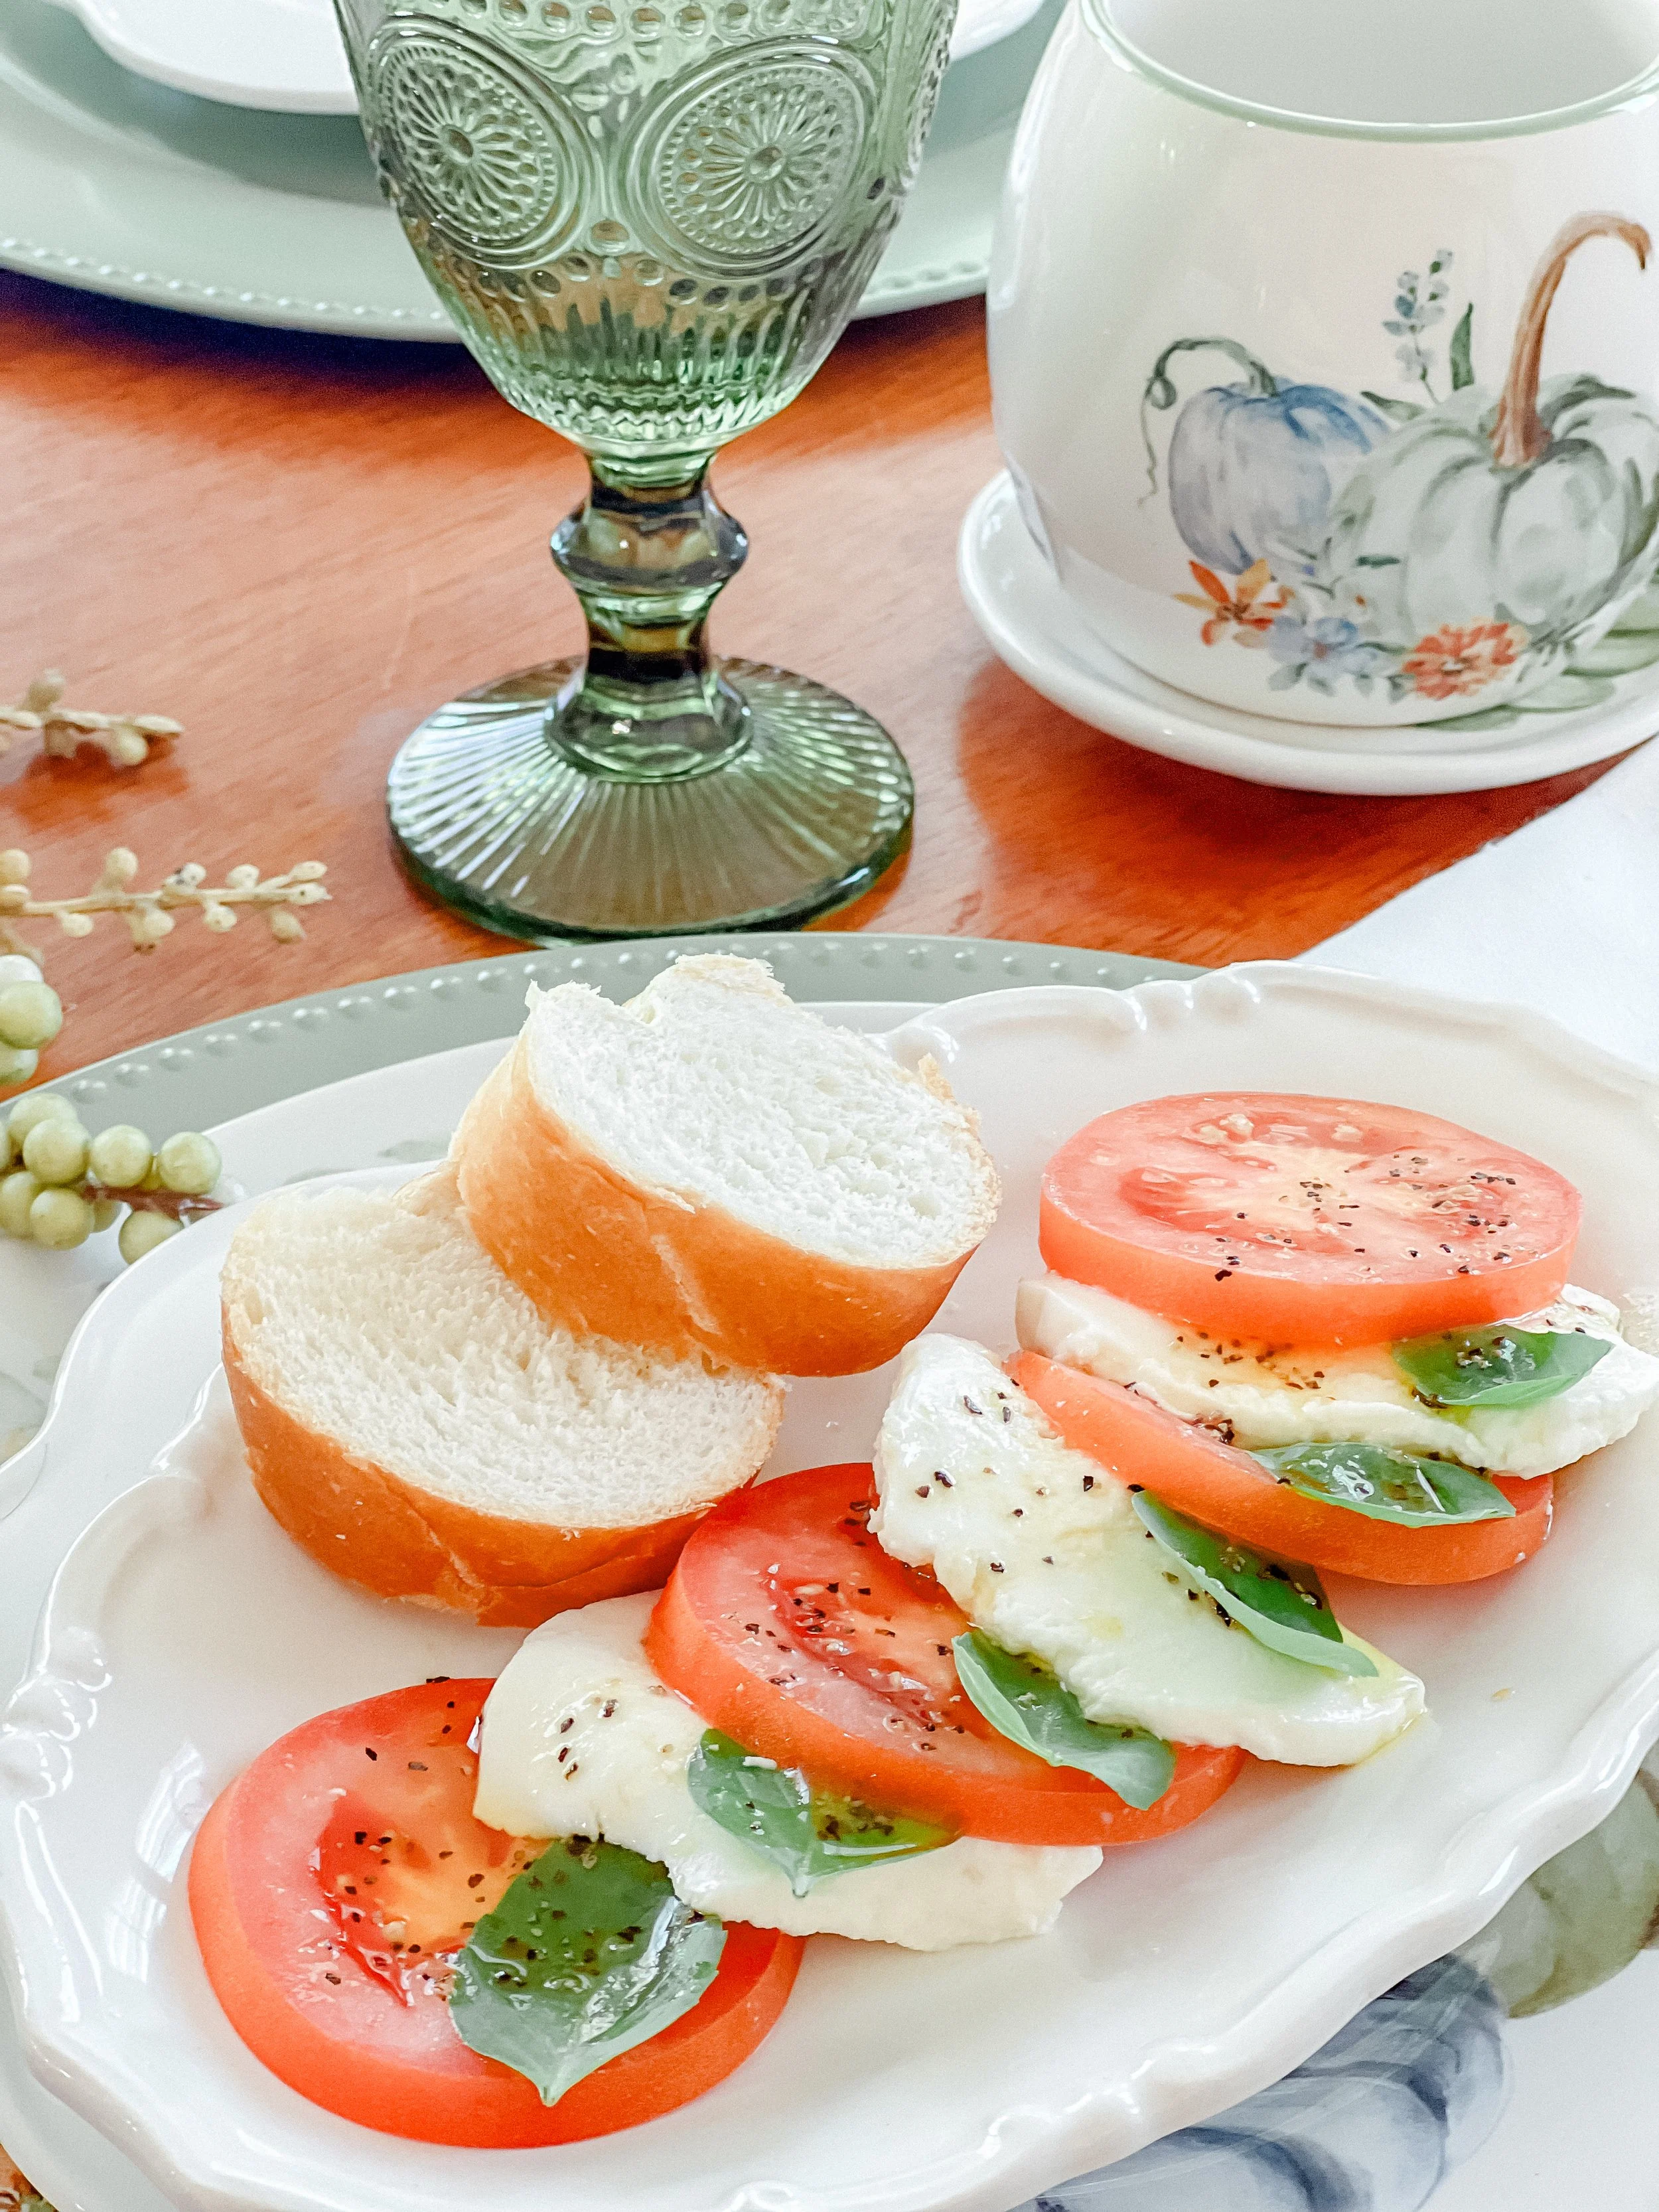
Caprese Salad,
Lunch,
Summer,
Tomatoes,
Salad
Anita Kanellis
Salads,
Caprese Salad,
Lunch,
Summer,
Tomatoes,
Salad
Anita Kanellis
Read More
Scones,
Peaches and Cream Scones,
Peach,
Peaches and Cream,
Scone,
Peach Scones
Anita Kanellis
Scones,
Peaches and Cream Scones,
Peach,
Peaches and Cream,
Scone,
Peach Scones
Anita Kanellis
Read More
Savory,
Chicken,
Chicken Pot Pie,
Orzo,
Pasta,
Creamy Chicken Pot Pie Orzo,
Dinner,
Lunch
Anita Kanellis
Savory,
Chicken,
Chicken Pot Pie,
Orzo,
Pasta,
Creamy Chicken Pot Pie Orzo,
Dinner,
Lunch
Anita Kanellis
Read More
Desserts,
Sweet Bites,
Cake,
Chocolate Cake,
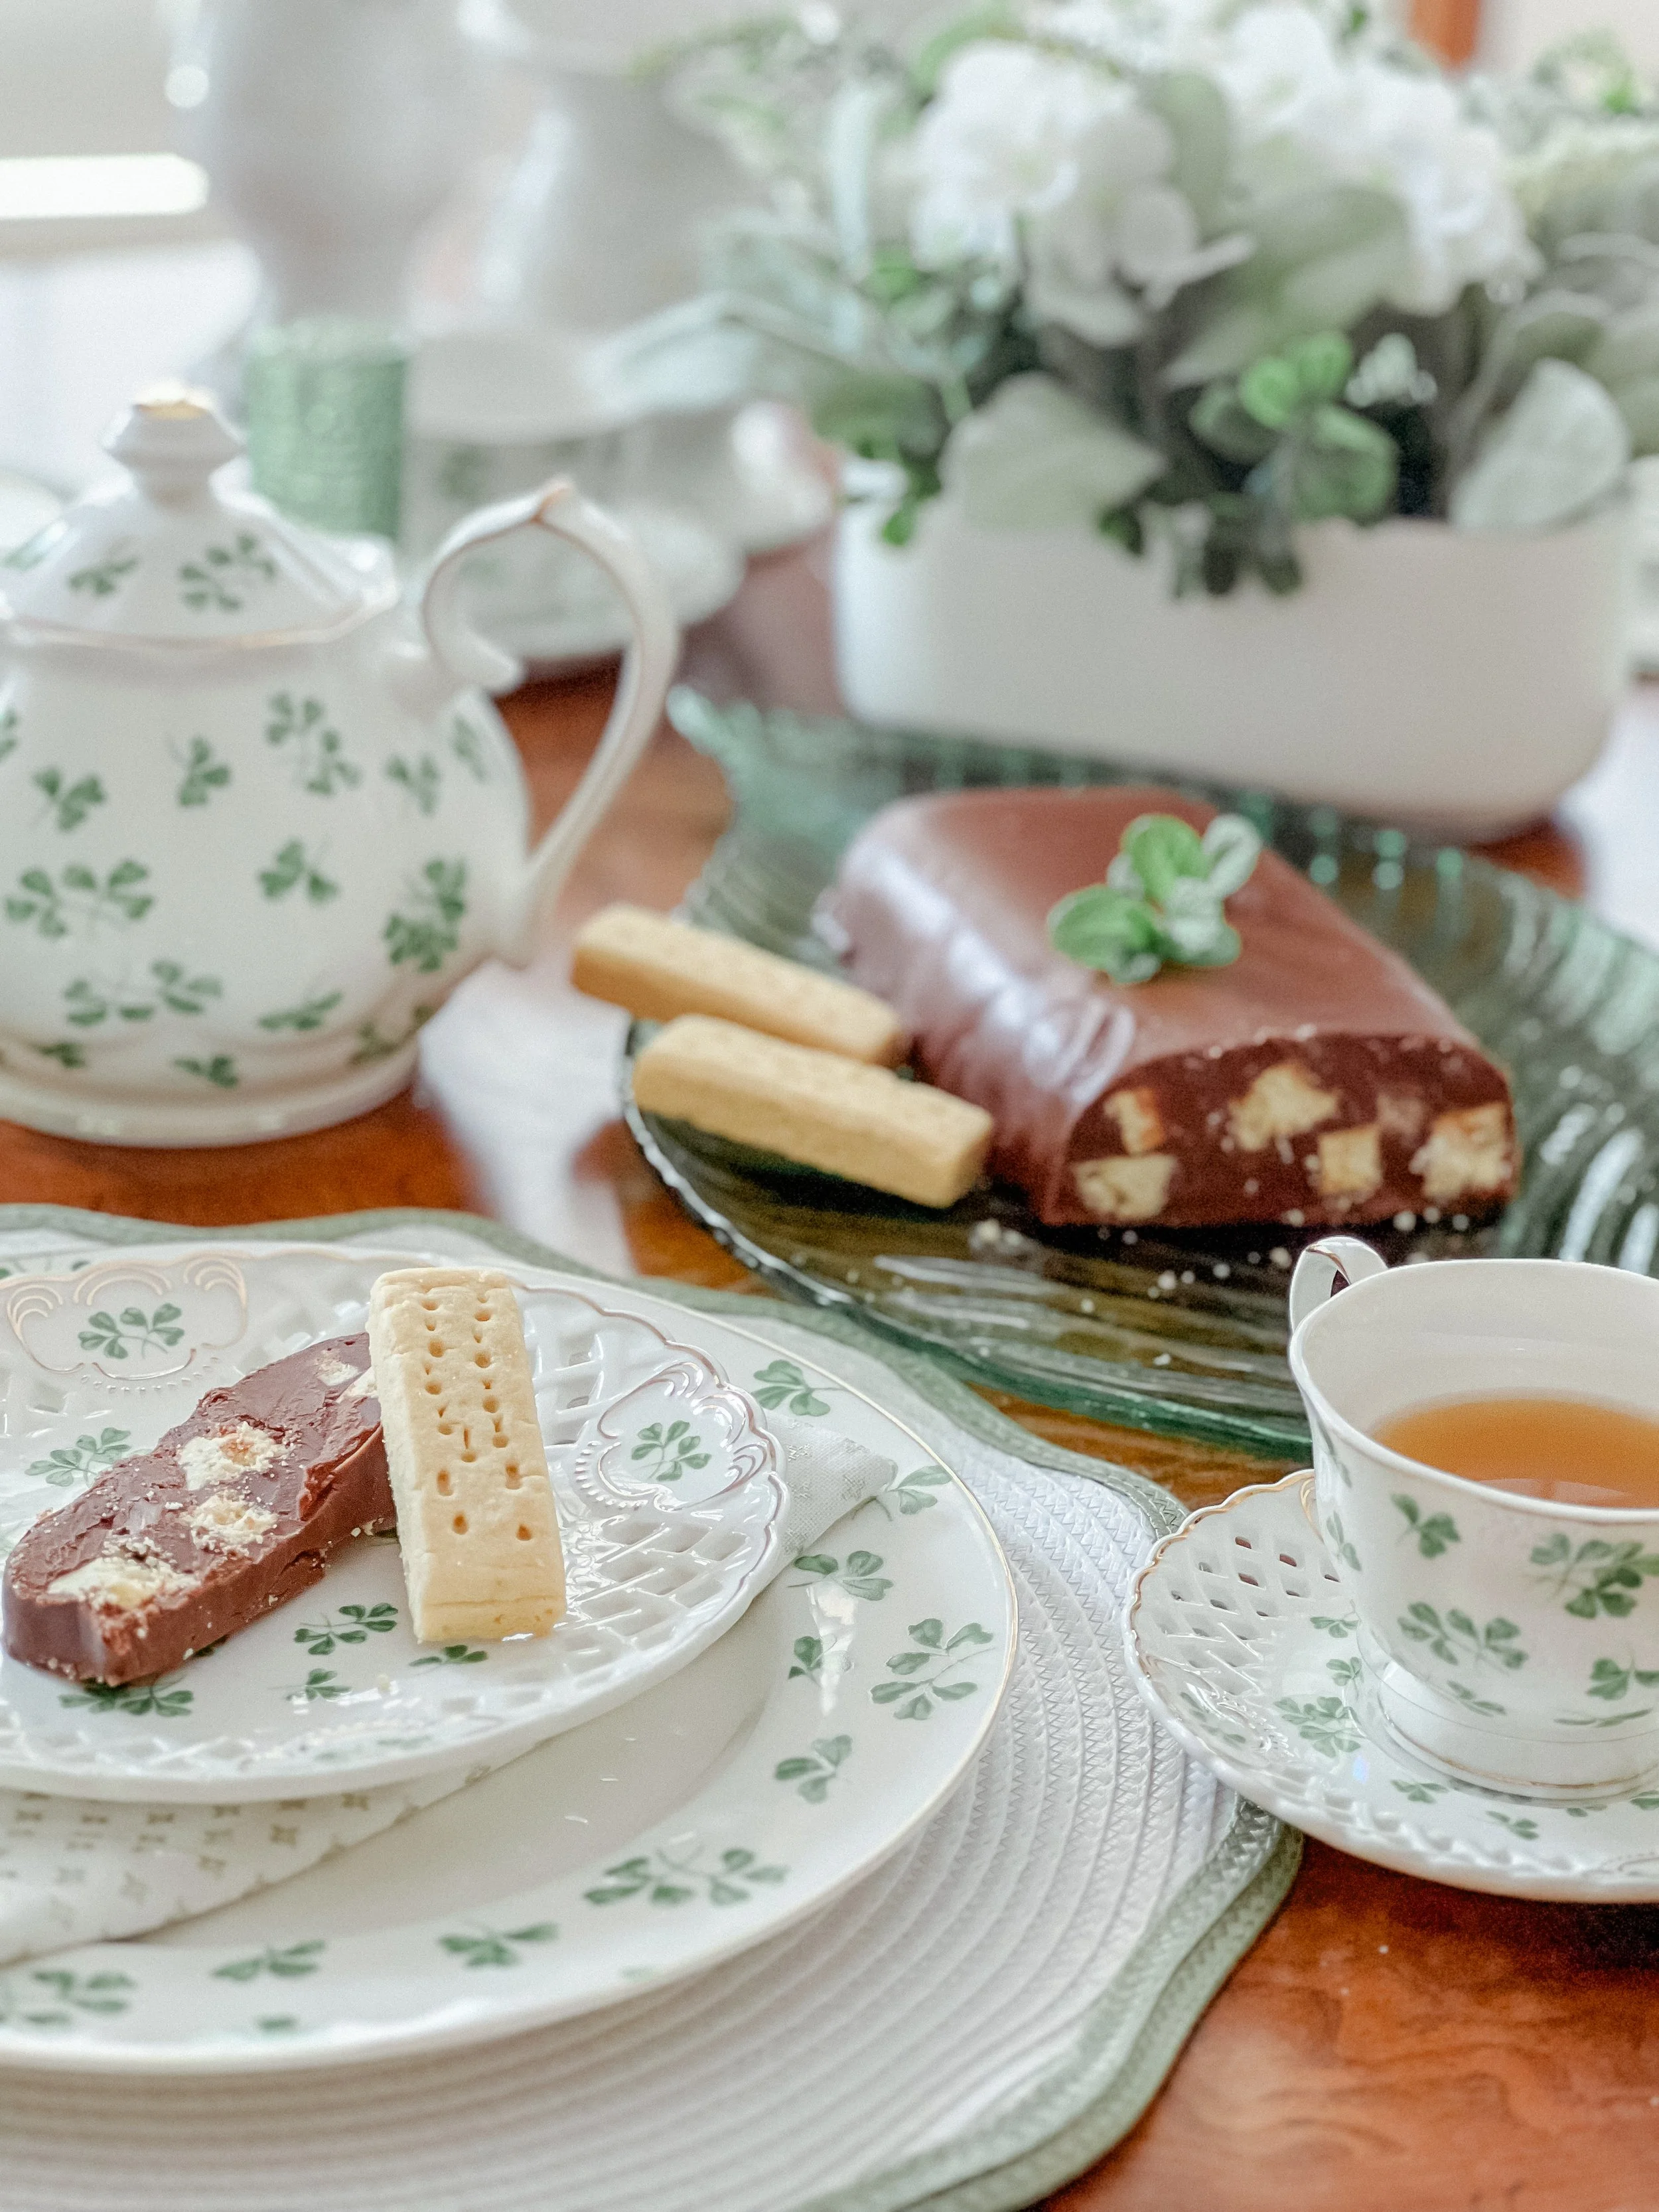
Very Chocolate Biscotti Cake,
Biscotti Cake,
Dessert,
Chocolate
Anita Kanellis
Desserts,
Sweet Bites,
Cake,
Chocolate Cake,
Very Chocolate Biscotti Cake,
Biscotti Cake,
Dessert,
Chocolate
Anita Kanellis
Read More
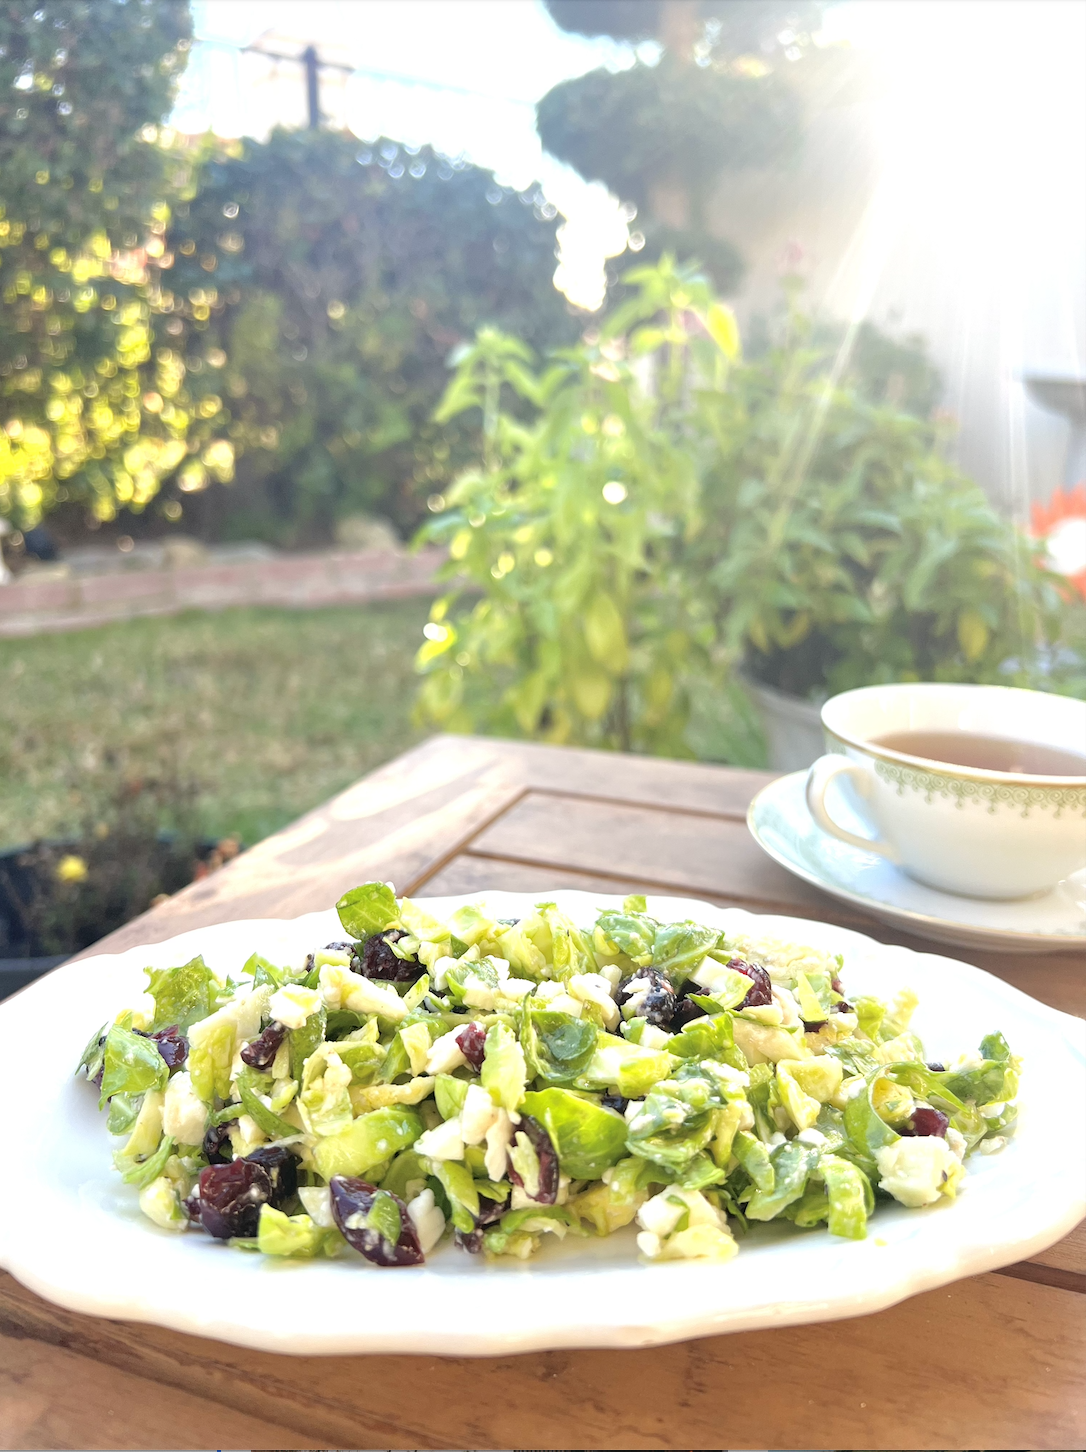
Salads,
Vegetables,
Savory,
Broccoli,
Broccoli Salad,
Lunch,
Side Dish
Anita Kanellis
Salads,
Vegetables,
Savory,
Broccoli,
Broccoli Salad,
Lunch,
Side Dish
Anita Kanellis
Read More
Muffins and Cakes,
Cake,
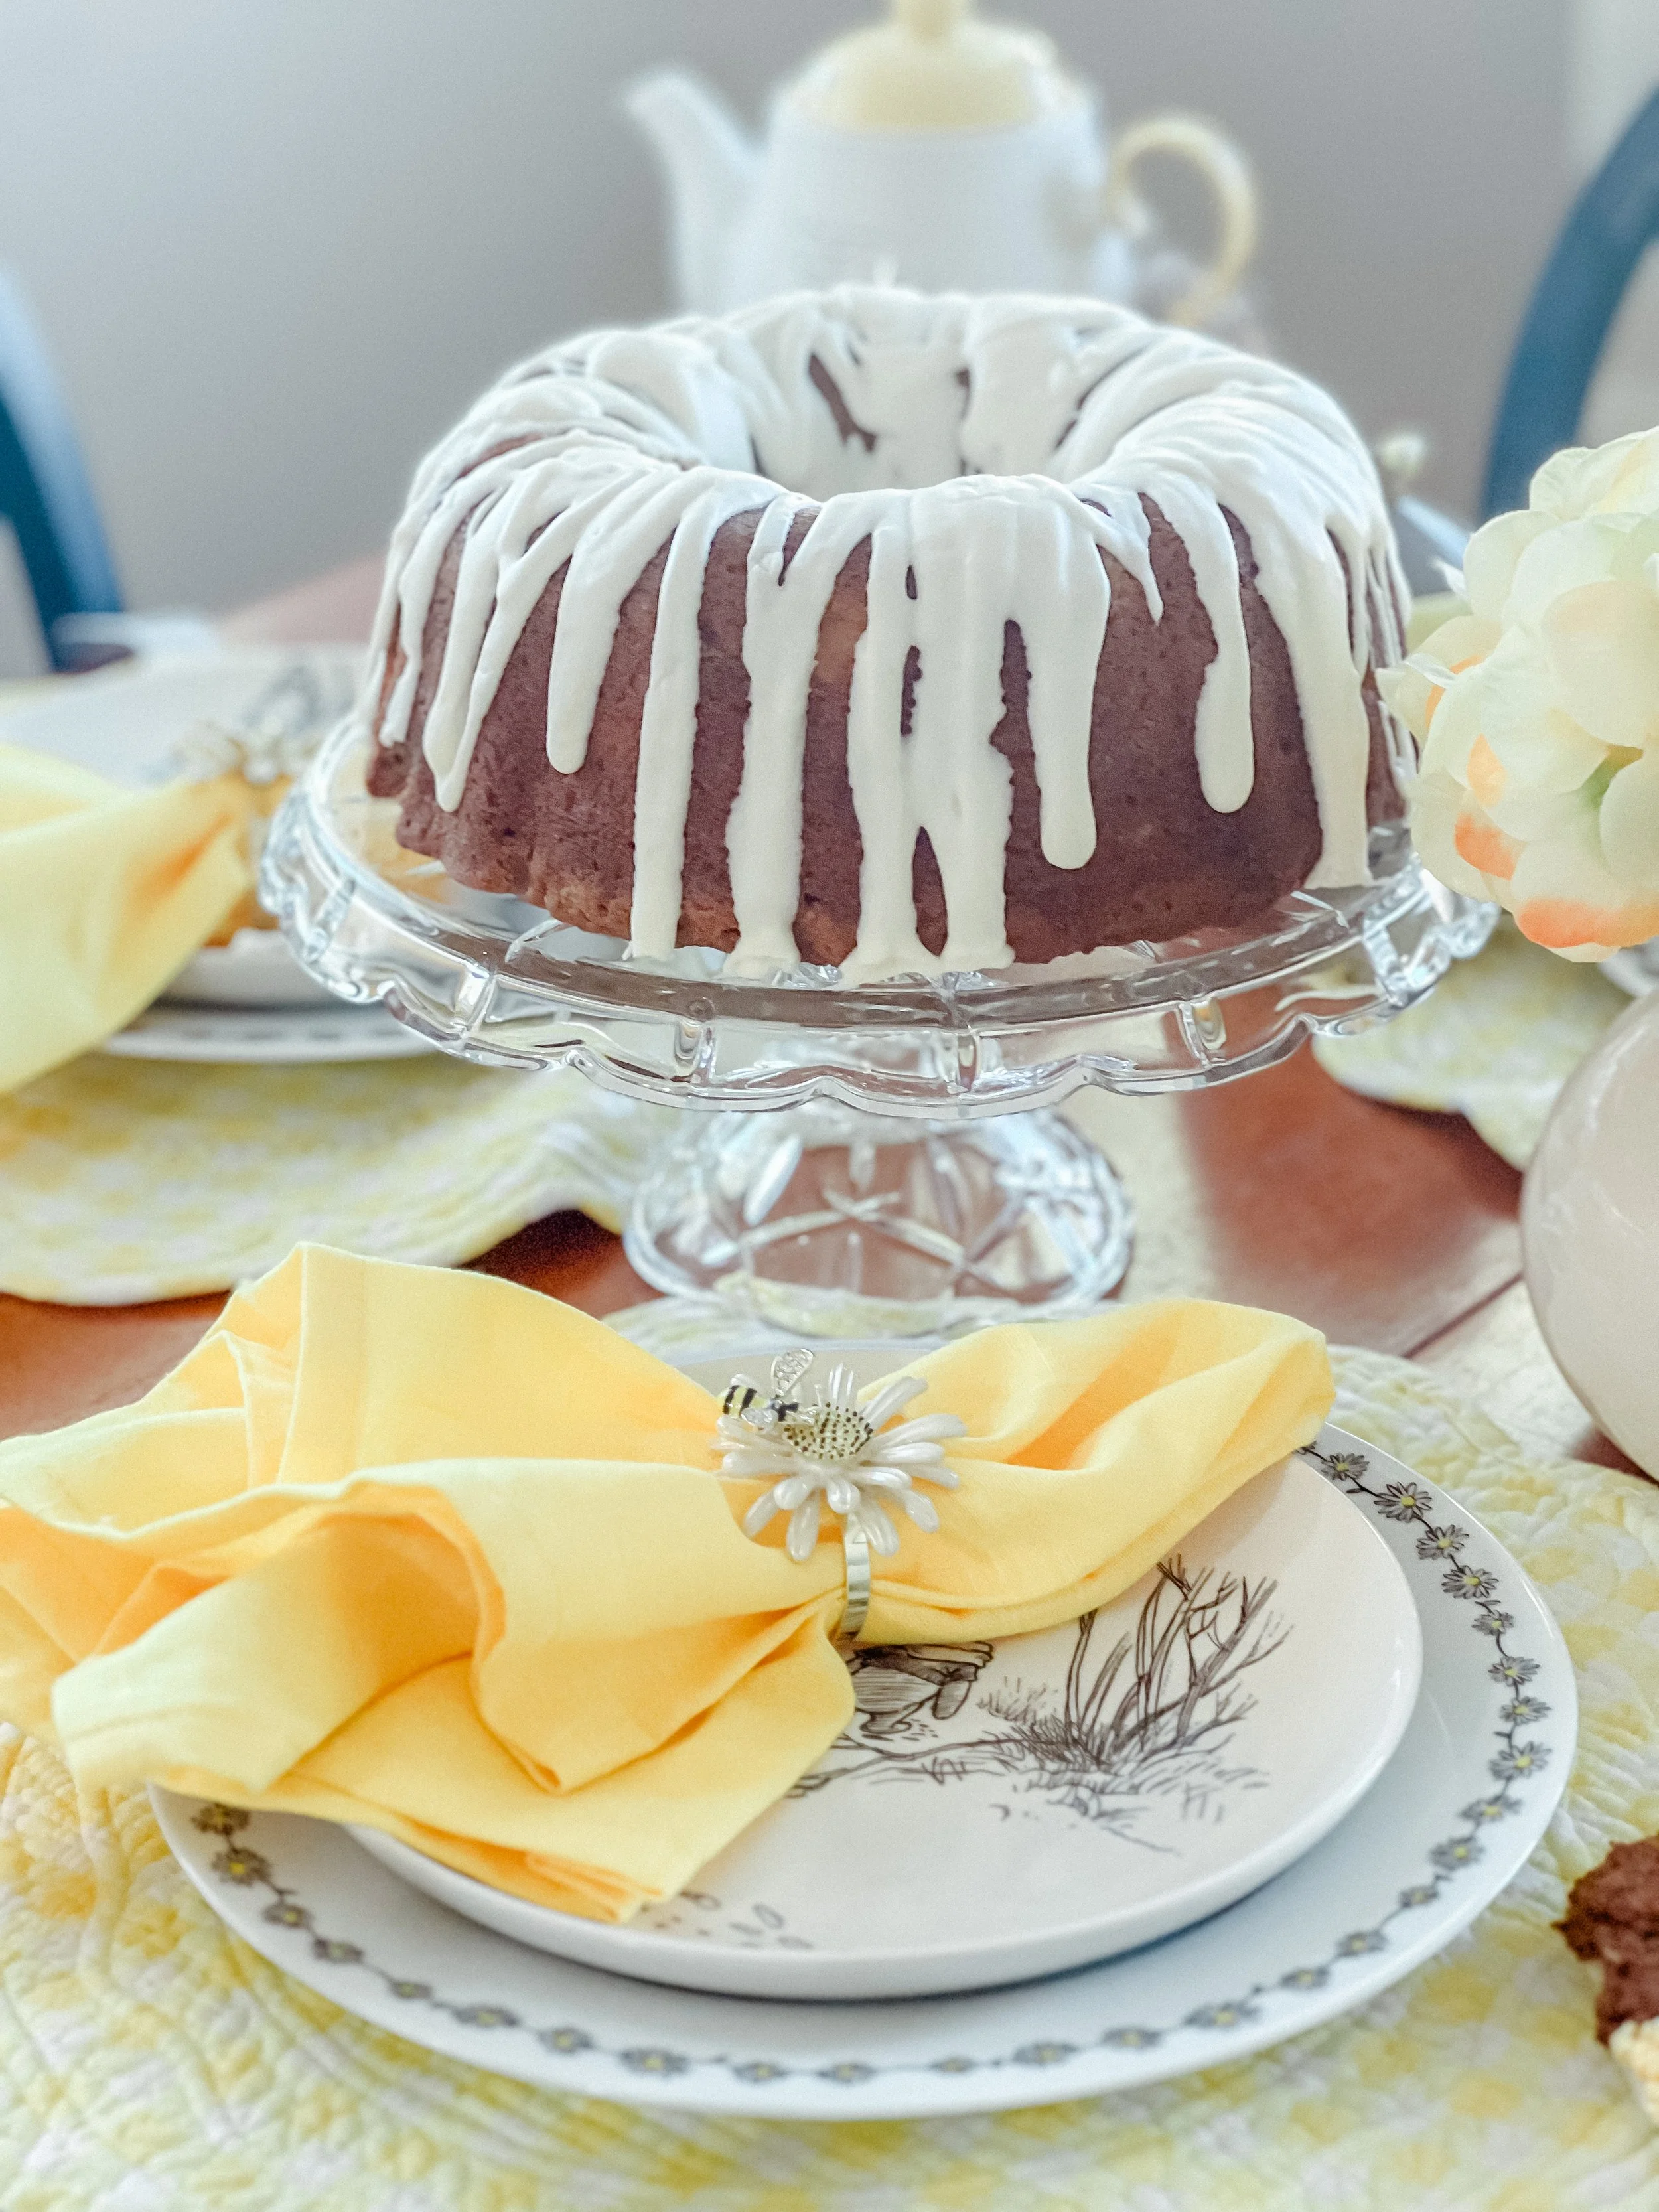
Hummingbird Bundt Cake,
Bundt cakes,
Desserts,
Sweet Bites,
Sweet Bread,
Dessert
Anita Kanellis
Muffins and Cakes,
Cake,
Hummingbird Bundt Cake,
Bundt cakes,
Desserts,
Sweet Bites,
Sweet Bread,
Dessert
Anita Kanellis
Read More
Salads,
Chicken,
Vegetables,
Savory,
Oriental,
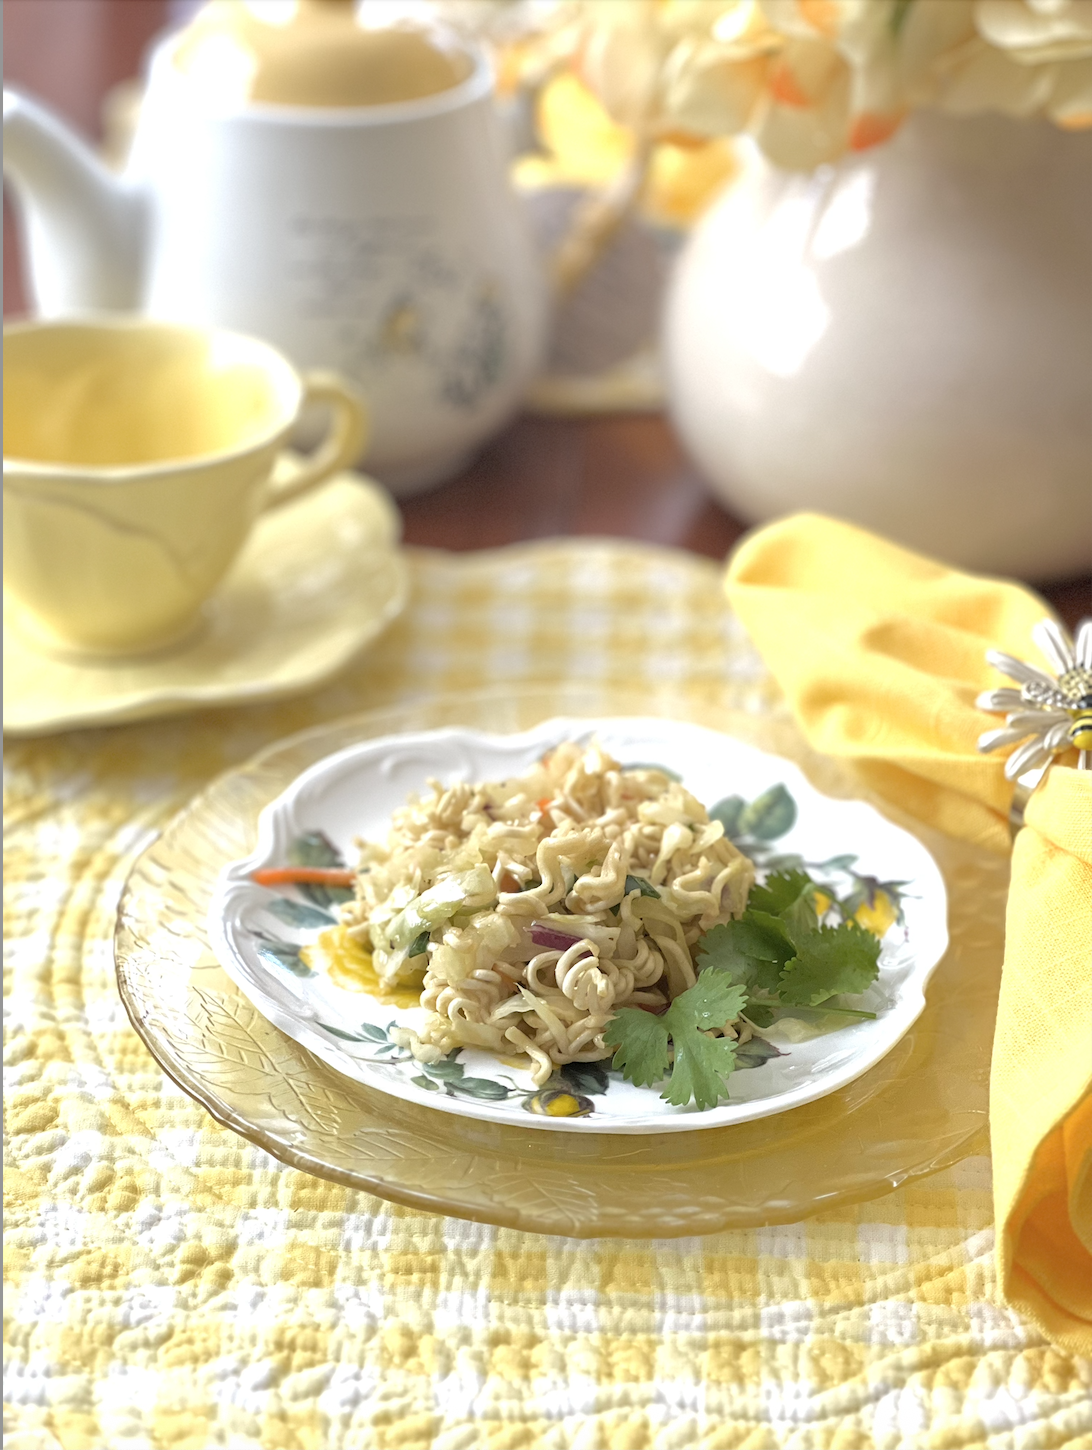
Oriental Salad,
Lunch,
Dinner
Anita Kanellis
Salads,
Chicken,
Vegetables,
Savory,
Oriental,
Oriental Salad,
Lunch,
Dinner
Anita Kanellis
Read More
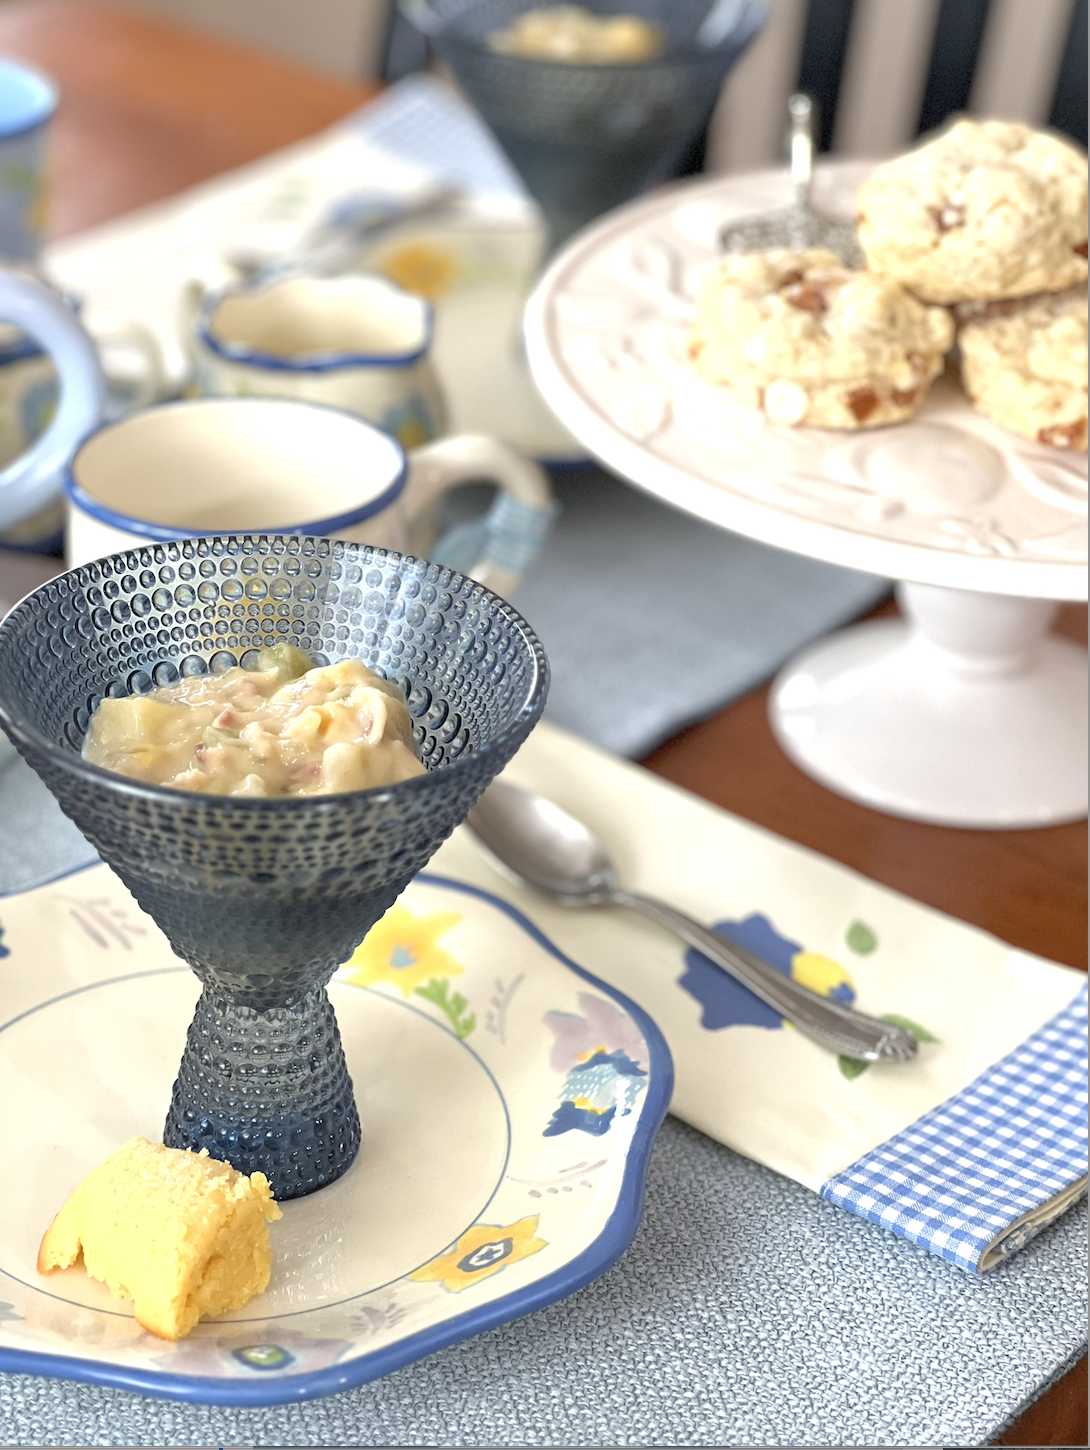
soups,
Savory,
Corn Chowder,
Southern Corn Chowder,
Southern Corn Chowder Soup,
Chowder,
Lunch,
Dinner
Anita Kanellis
soups,
Savory,
Corn Chowder,
Southern Corn Chowder,
Southern Corn Chowder Soup,
Chowder,
Lunch,
Dinner
Anita Kanellis
Read More
Savory,
Casserole,
Brussels Sprout,
Cheese,
Rice,
Lunch,
Dinner
Anita Kanellis
Savory,
Casserole,
Brussels Sprout,
Cheese,
Rice,
Lunch,
Dinner
Anita Kanellis
Read More
Savory,
Mushroom,
Mushroom Puffs,
appetizer,
Lunch,
Dinner
Anita Kanellis
Savory,
Mushroom,
Mushroom Puffs,
appetizer,
Lunch,
Dinner
Anita Kanellis
Read More
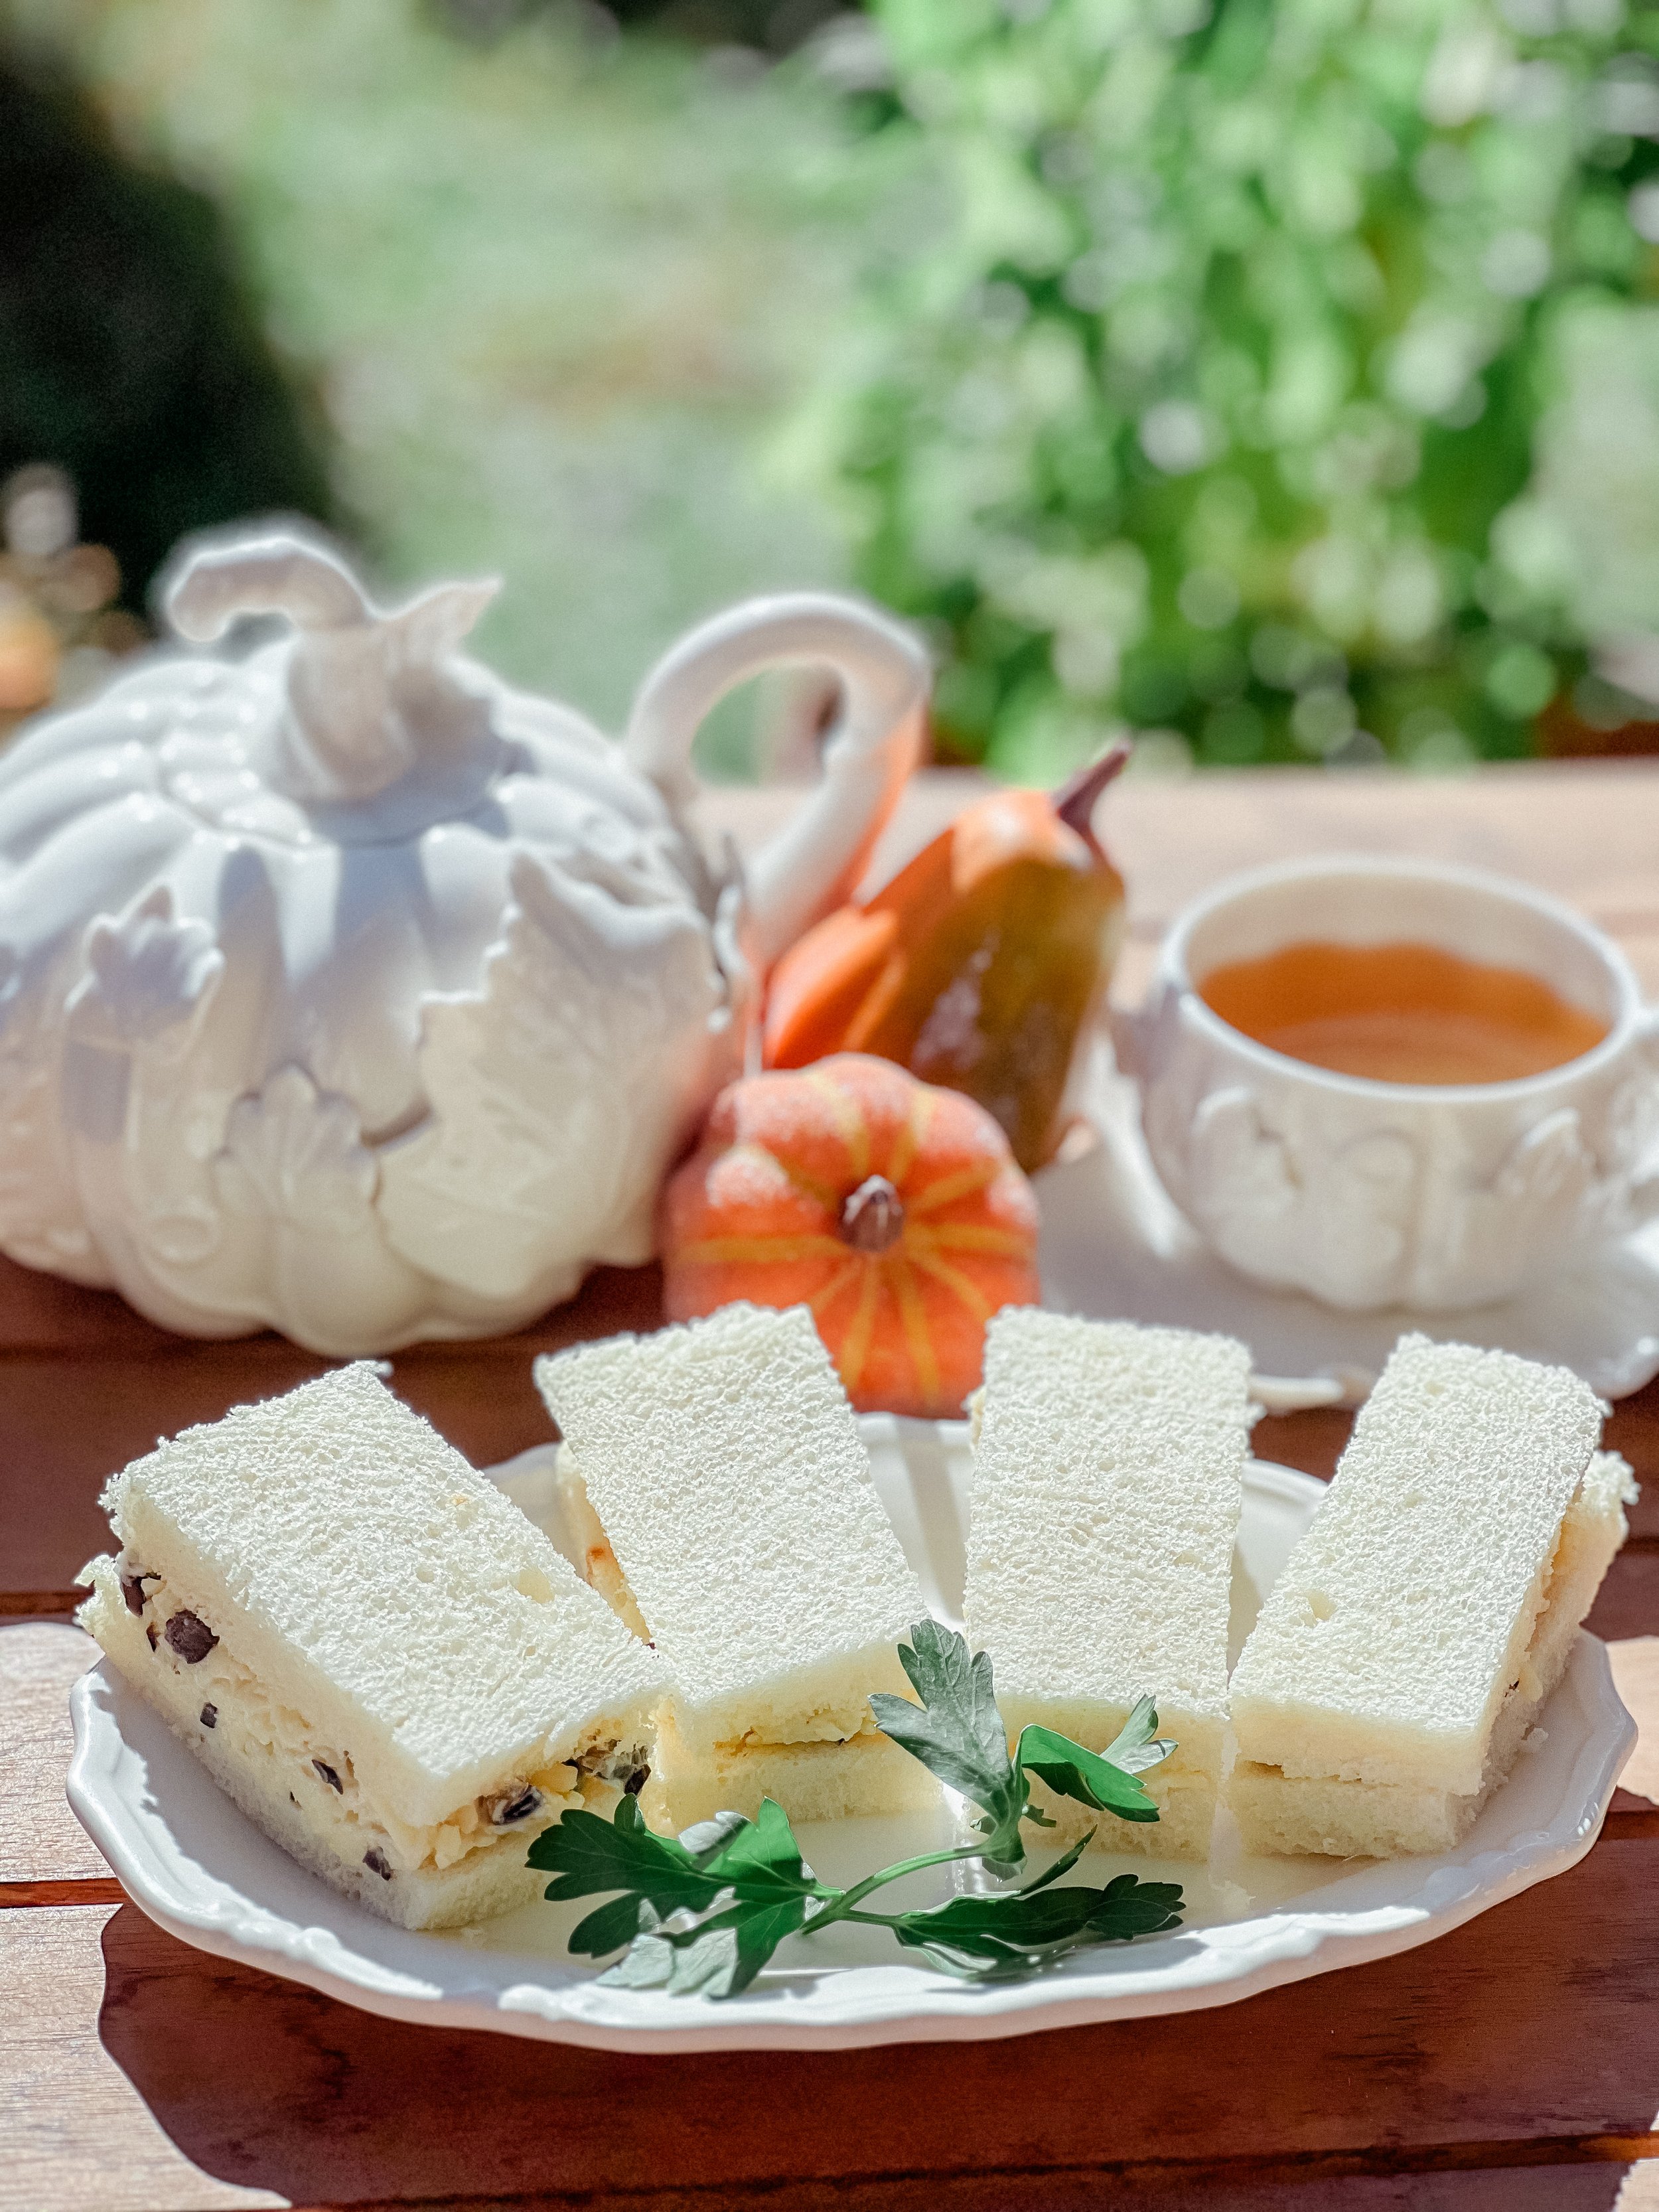
Tea Sandwiches,
White Cheddar and Olive Tea Sandwiches,
White Cheddar,
Olive,
Sandwiches,
Lunch
Anita Kanellis
Tea Sandwiches,
White Cheddar and Olive Tea Sandwiches,
White Cheddar,
Olive,
Sandwiches,
Lunch
Anita Kanellis
Read More
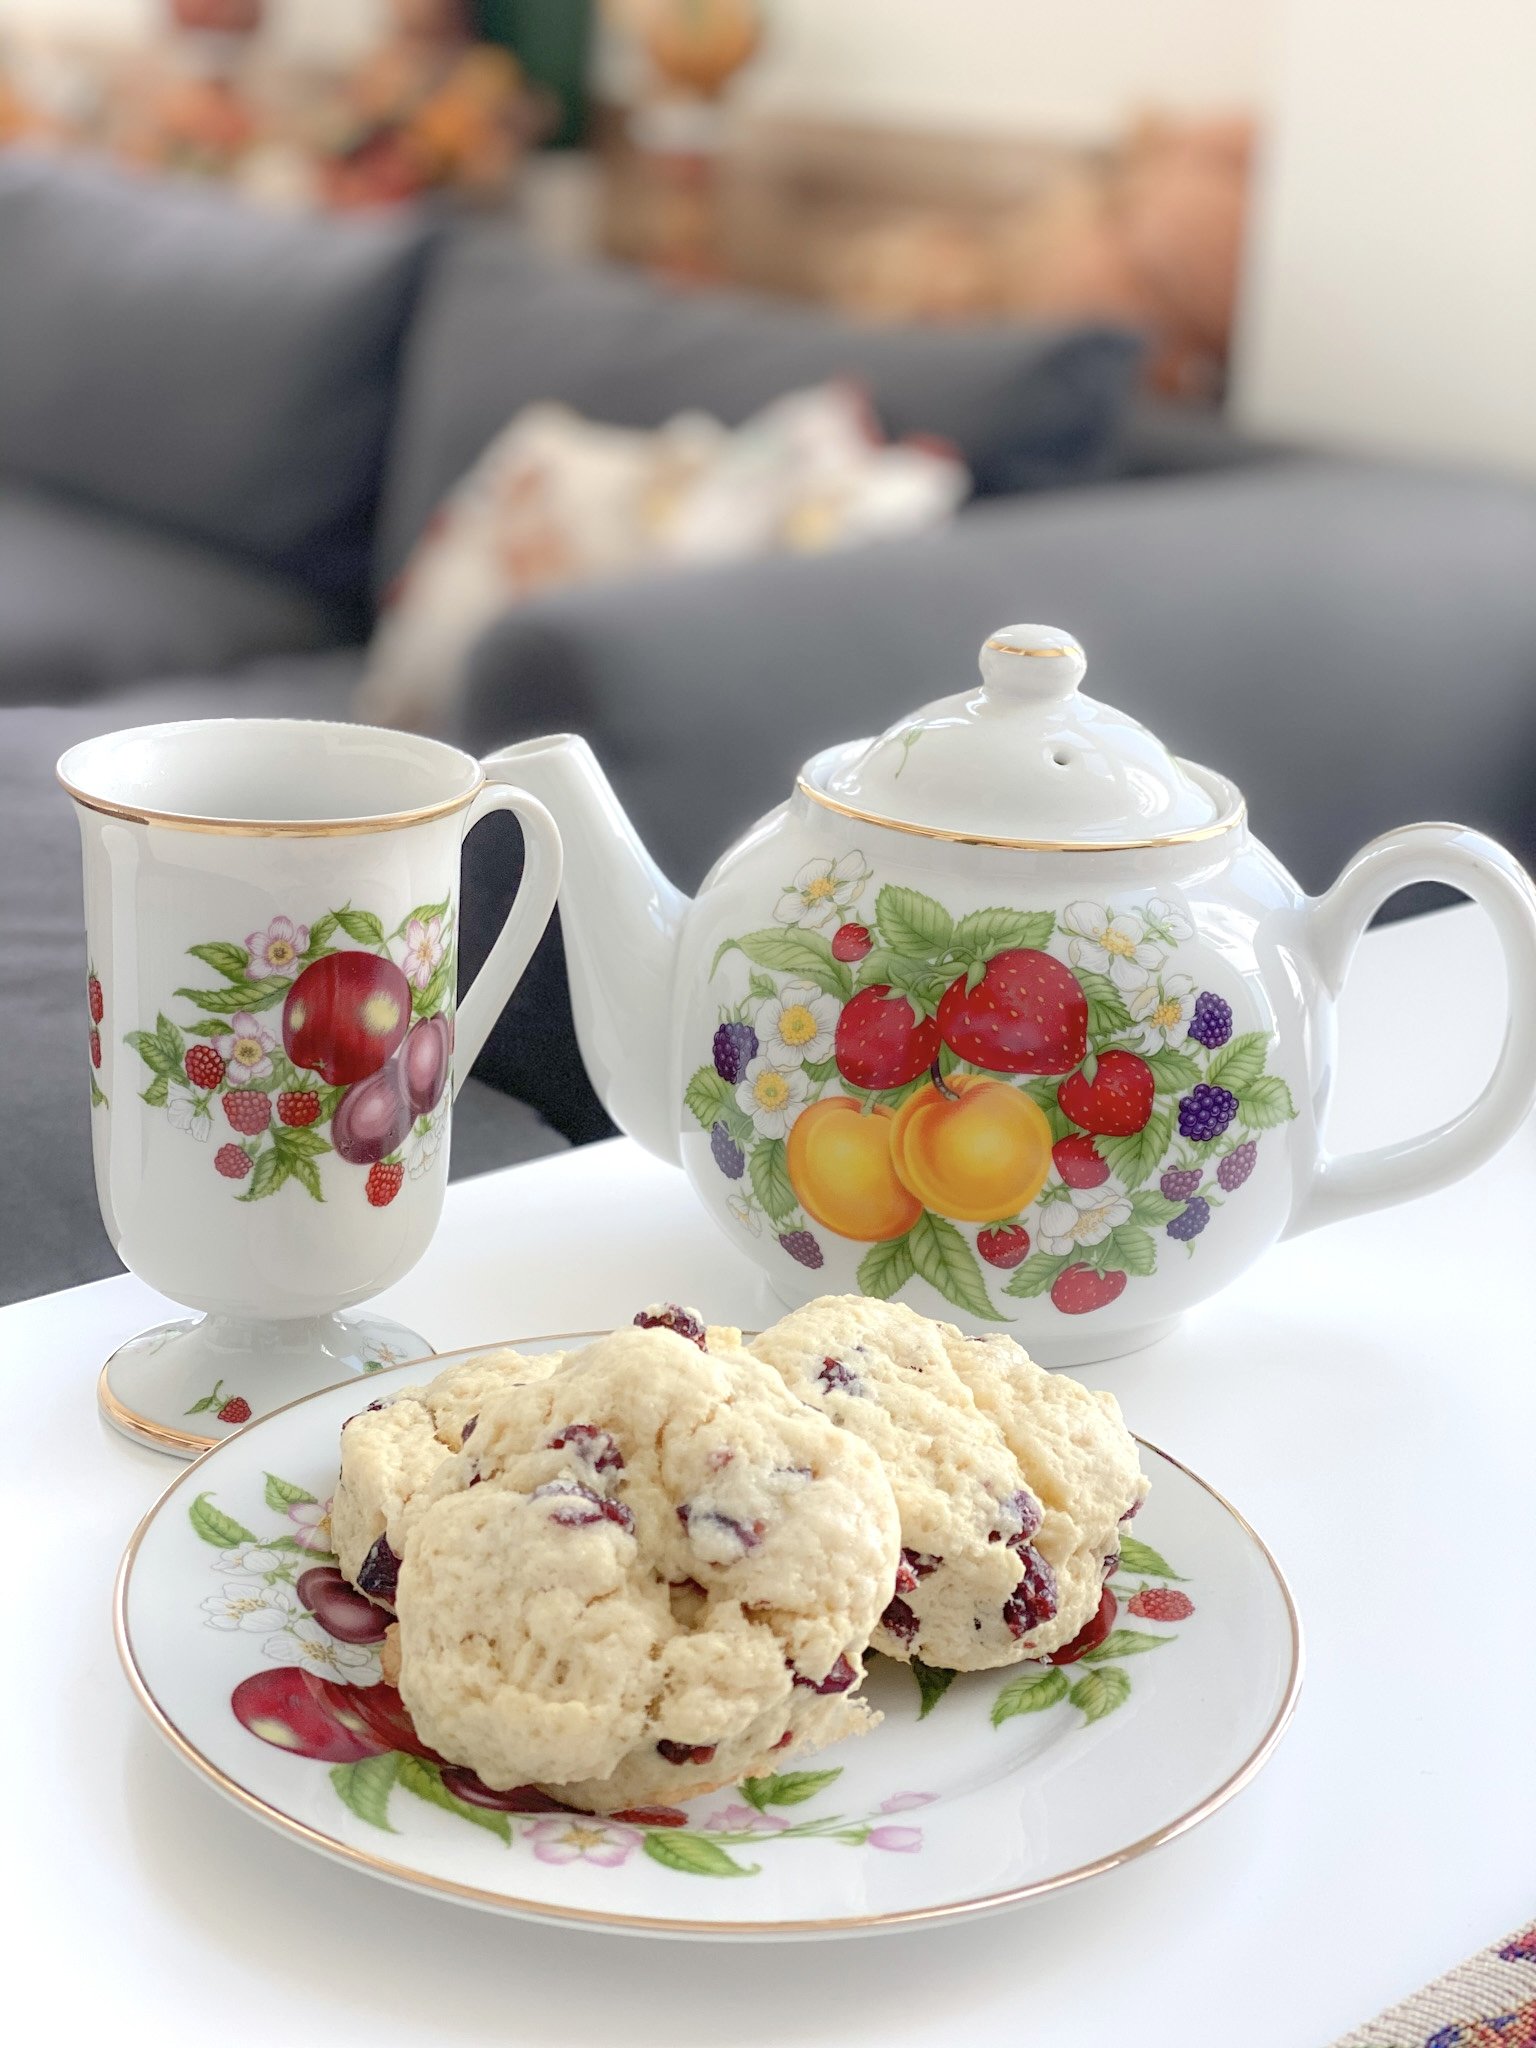
Scones,
Christmas,
Cranberry,
Cranberries,
Cranberry Orange Scones,
Cranberry Orange,
Orange
Anita Kanellis
Scones,
Christmas,
Cranberry,
Cranberries,
Cranberry Orange Scones,
Cranberry Orange,
Orange
Anita Kanellis
Read More
Breakfast,
Sweet Bites,
Savory,
French Toast,
Blueberry,
Blueberry Strawberry,
Blueberry Strawberry French Toast
Anita Kanellis
Breakfast,
Sweet Bites,
Savory,
French Toast,
Blueberry,
Blueberry Strawberry,
Blueberry Strawberry French Toast
Anita Kanellis
Read More
Tea Sandwiches,
White Cheddar,
White Pimento Cheese,
White Pimento Cheese Sandwiches,
Tea Spreads,
Pimento Cheese,
Pimento Cheese Sandwiches,
Lunch
Anita Kanellis
Tea Sandwiches,
White Cheddar,
White Pimento Cheese,
White Pimento Cheese Sandwiches,
Tea Spreads,
Pimento Cheese,
Pimento Cheese Sandwiches,
Lunch
Anita Kanellis
Read More
Tea Sandwiches,
Apple Butter,
Brie,
Maple Ham,
Maple Ham Brie and Apple Butter Tea Sandwiches,
Lunch
Anita Kanellis
Tea Sandwiches,
Apple Butter,
Brie,
Maple Ham,
Maple Ham Brie and Apple Butter Tea Sandwiches,
Lunch
Anita Kanellis
Read More
Sweet Bites,
Cookies,
Hazelnut,
Hazelnut Shortbread Cookies,
Shortbread Cookies,
Shortbread,
Tea Cookies,
Dessert,
Desserts
Anita Kanellis
Sweet Bites,
Cookies,
Hazelnut,
Hazelnut Shortbread Cookies,
Shortbread Cookies,
Shortbread,
Tea Cookies,
Dessert,
Desserts
Anita Kanellis
Read More
Savory,
Pasta,
Creamy Orecchiette Spinach Pasta,
Creamy Orecchiette with Mushrooms and Spinach,
Mushroom,
Spinach,
Dinner,
Lunch
Anita Kanellis
Savory,
Pasta,
Creamy Orecchiette Spinach Pasta,
Creamy Orecchiette with Mushrooms and Spinach,
Mushroom,
Spinach,
Dinner,
Lunch
Anita Kanellis
Read More